
|
If you know me at all, you know what a huge deal halloween is for me and Nathan. It's like our Christmas. So for the past four years, we've tried to throw the biggest, most extra party we could possibly manage and they've all been so much fun. But this year....y'all. This year was the best one yet. The theme was "Hollywood Horror" dedicated to our favorite classic horror movies and it was a good time. We had over 30 people in my tiny house, a ton of horror movie paraphernalia, about 300 balloons, and more food than we knew what to do with. If you wanna see how we outdid ourselves this year, click the button below! 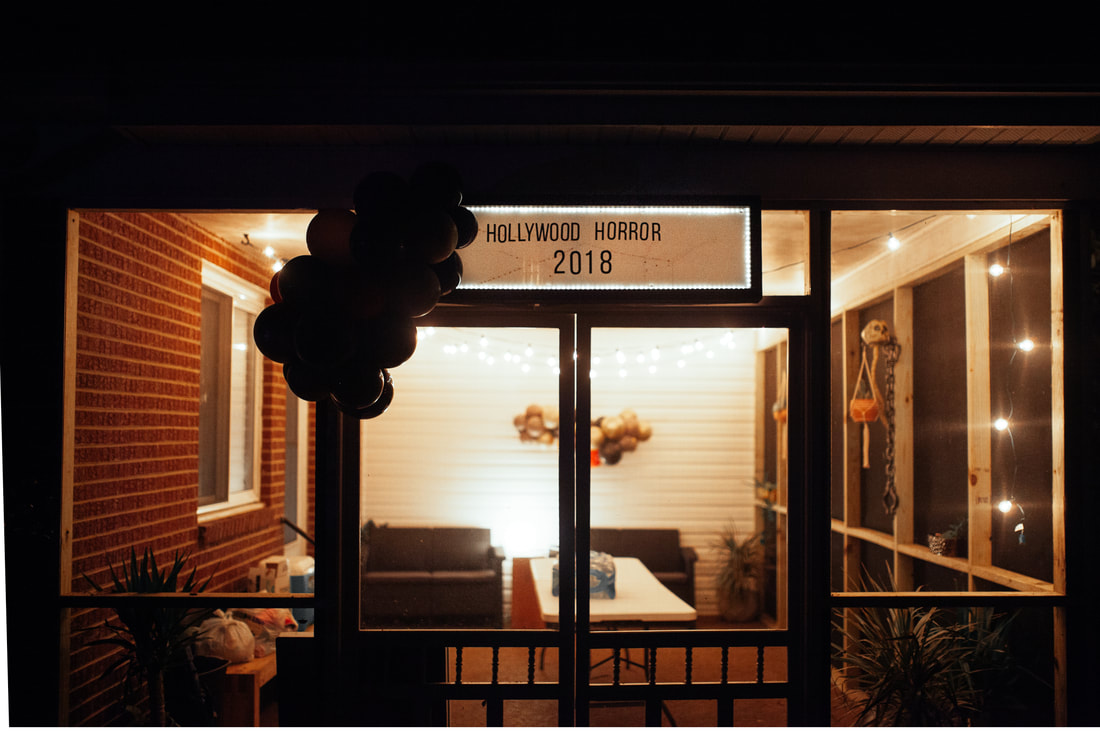 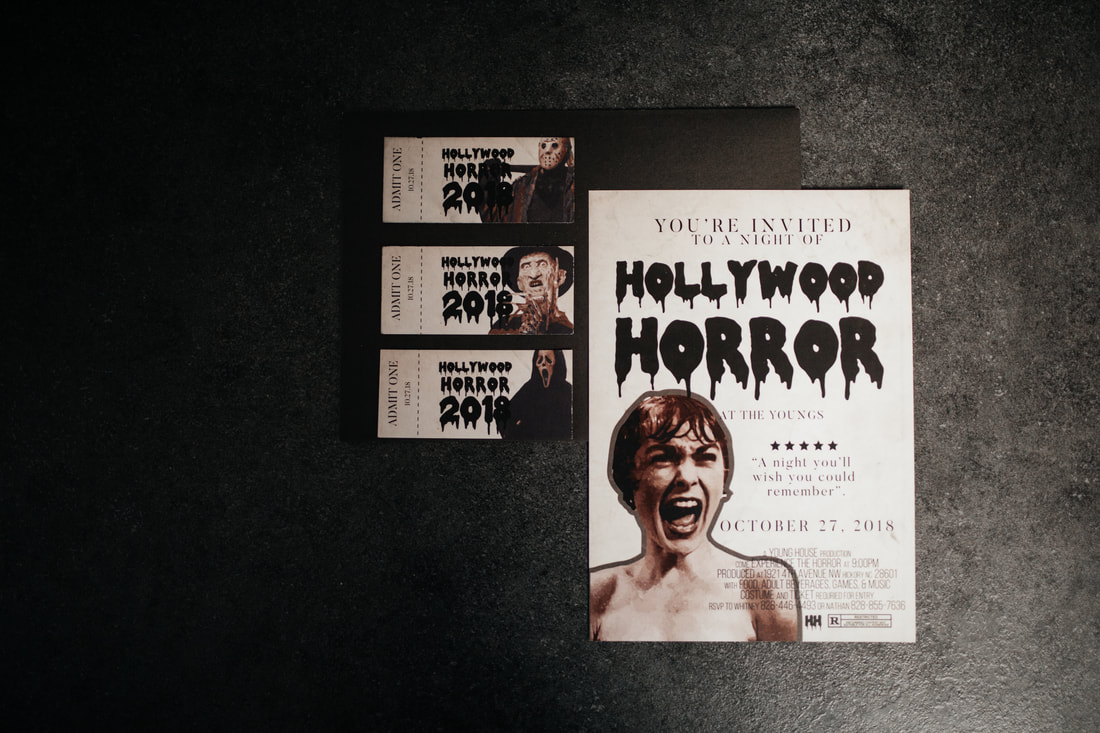
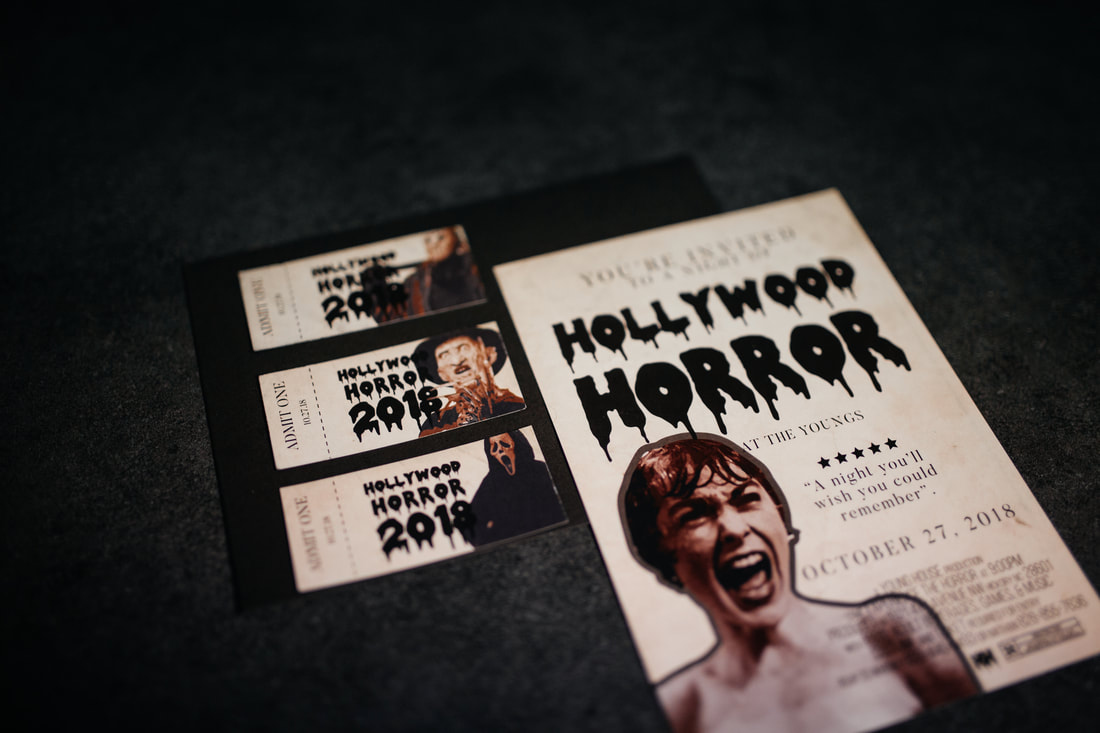
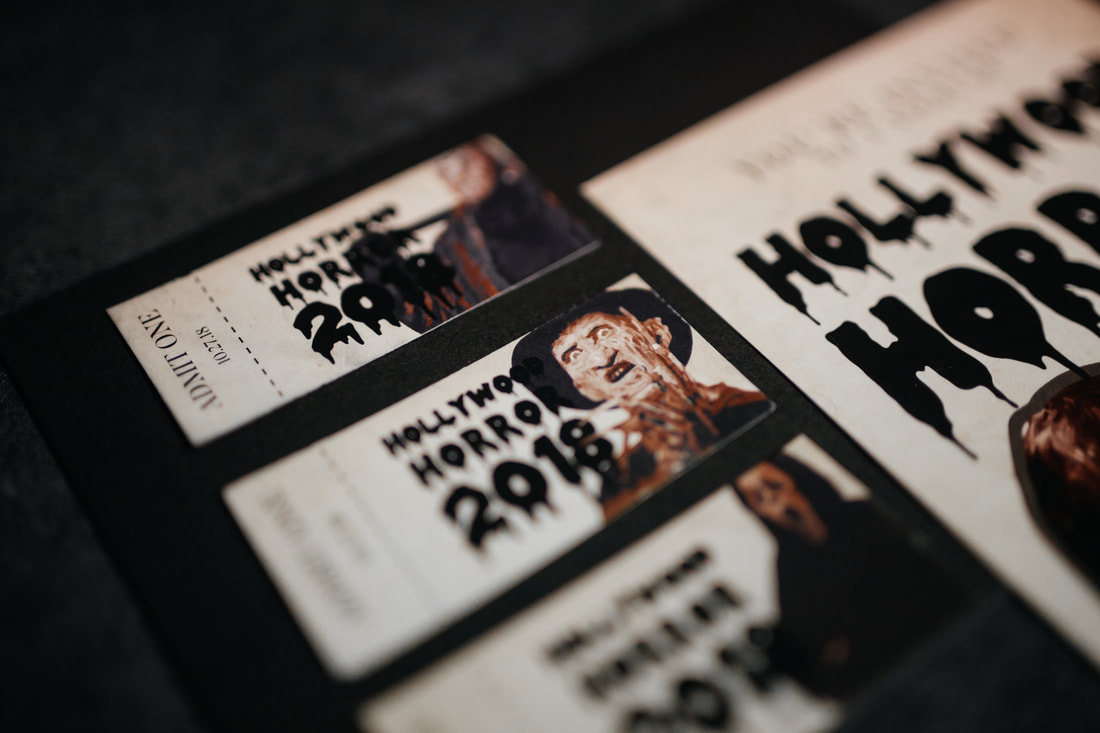
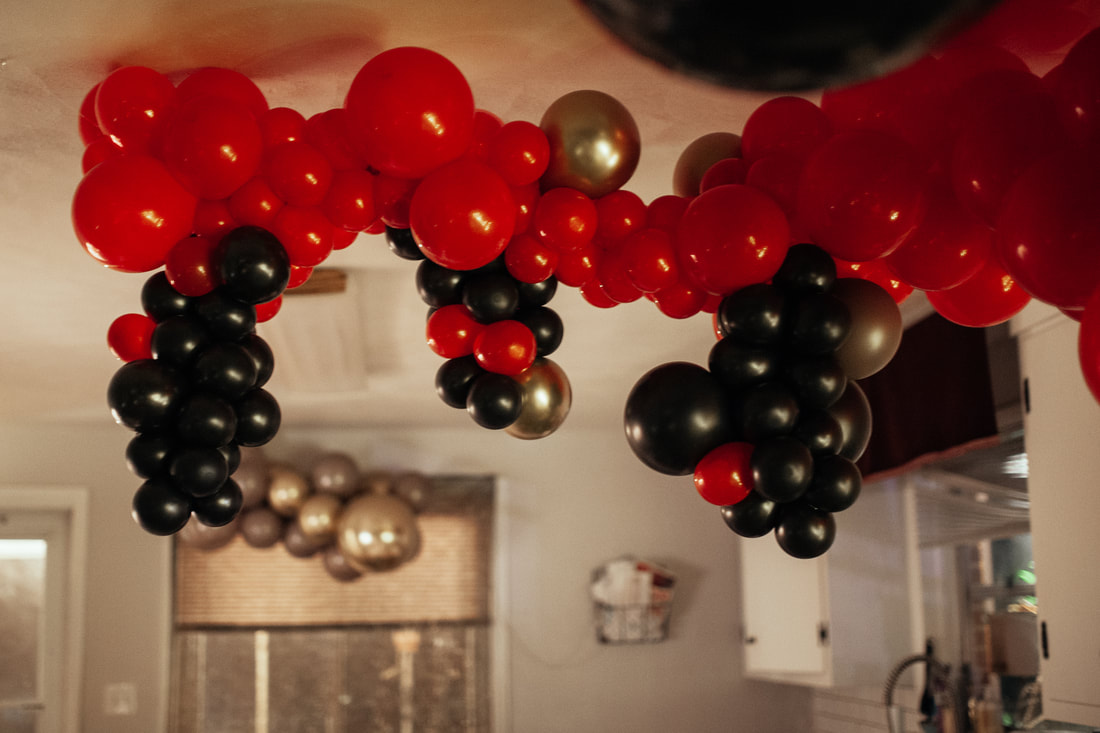
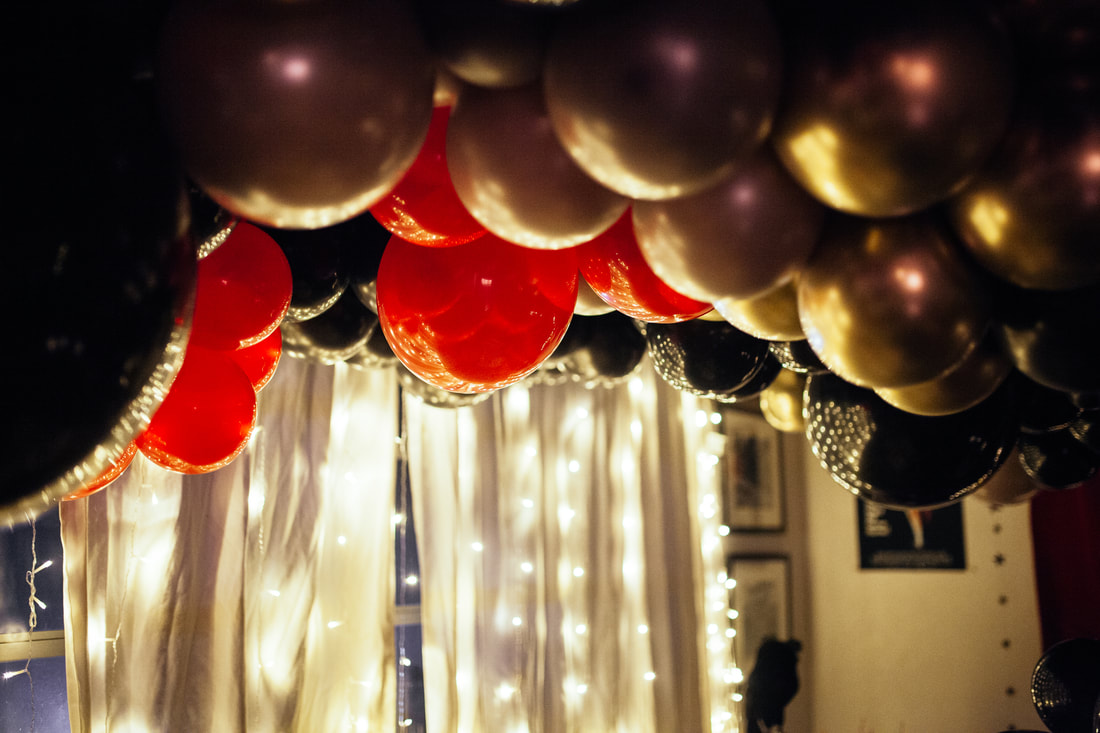
Invitations I designed based off classic horror movies and the design elements of classic movie posters. 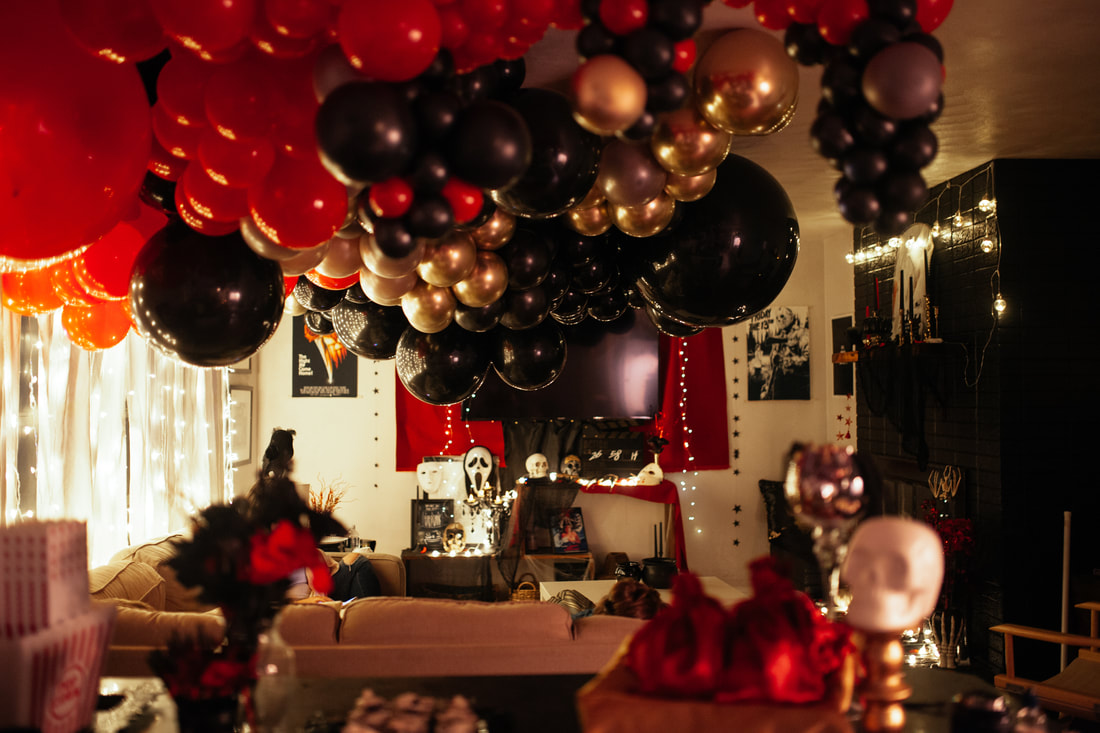 Balloons! We had a local balloon artist (Balloons by B-check out her Instagram: @balloonsbyb) come in and install these amazing balloon structures. Completely pulled everything together in the best way. This is definitely going to become a staple at the Young Halloween Party.
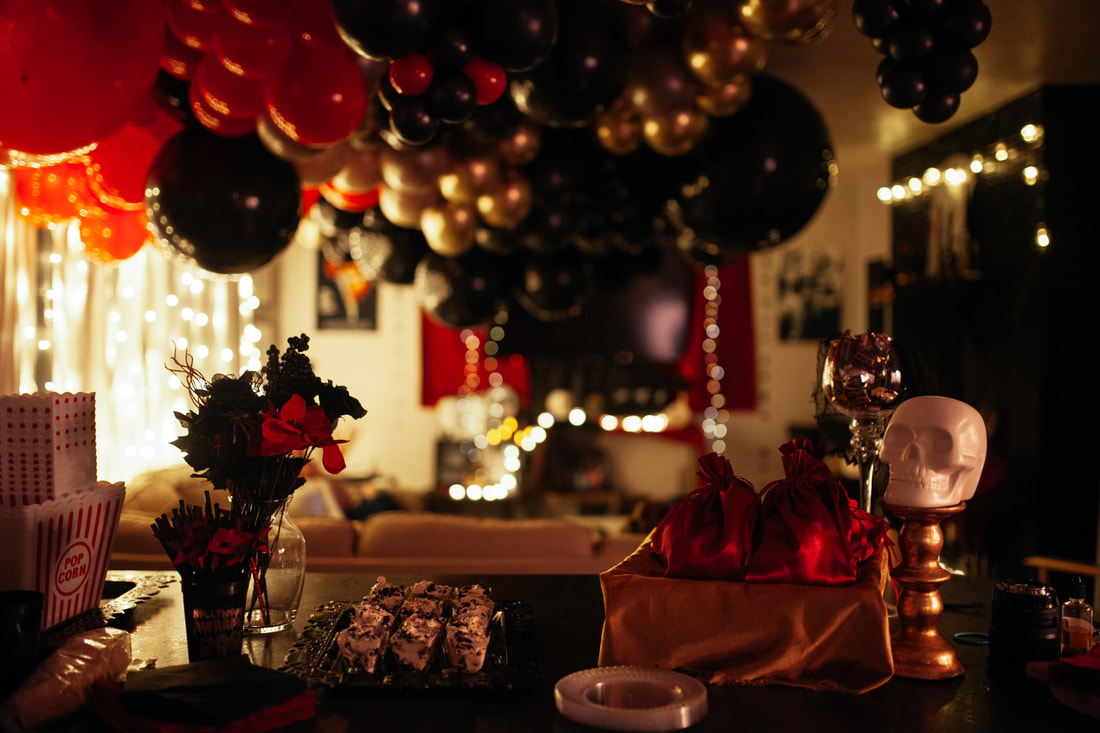 Still kicking myself for not getting a better picture of all the food-every. single. year. But we had a popcorn bar with three different flavors and enough popcorn buckets for everyone to have their own (dollar store, baby!). We also had these tiny Oreo deserts which look super chic but were actually crazy easy (message me for the recipe!). And in the right of this photo, you can see the goodie bags! I got these satin bags from Paper Mart and filled them with some fun stuff for everyone to take home! 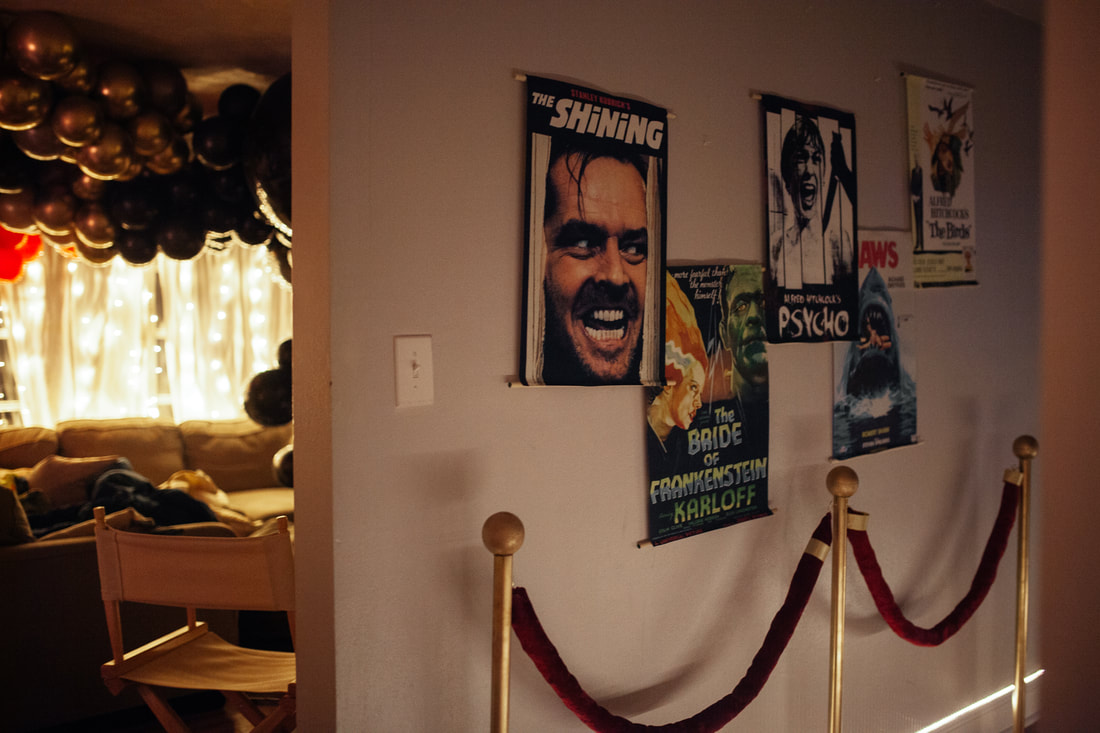 I started buying early and got all of the movie posters off ebay. Super cheap and easy way to decorate for a movie-themed event! 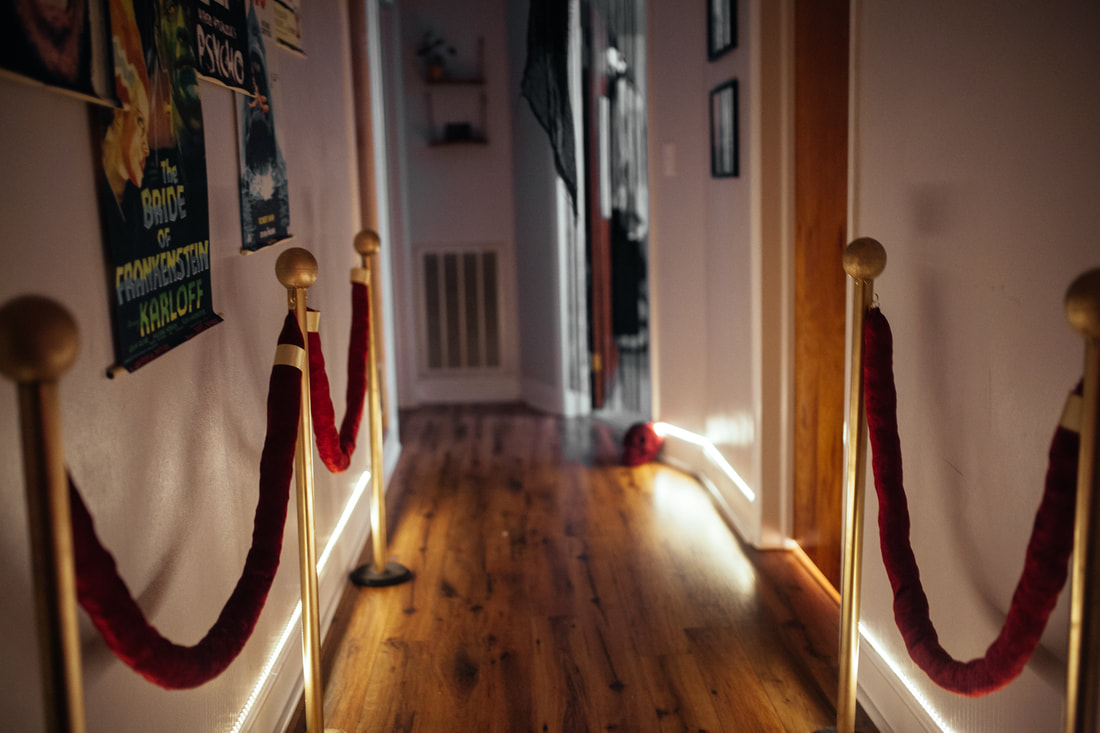 Nathan and I made these stanchions out of pvc pipe, foam balls, gold spray paint, and lots of glue. The "rope" part of the stanchions are fabric tubes sewn by my super crafty sister and those were stuffed with grocery bags to give it some thickness.
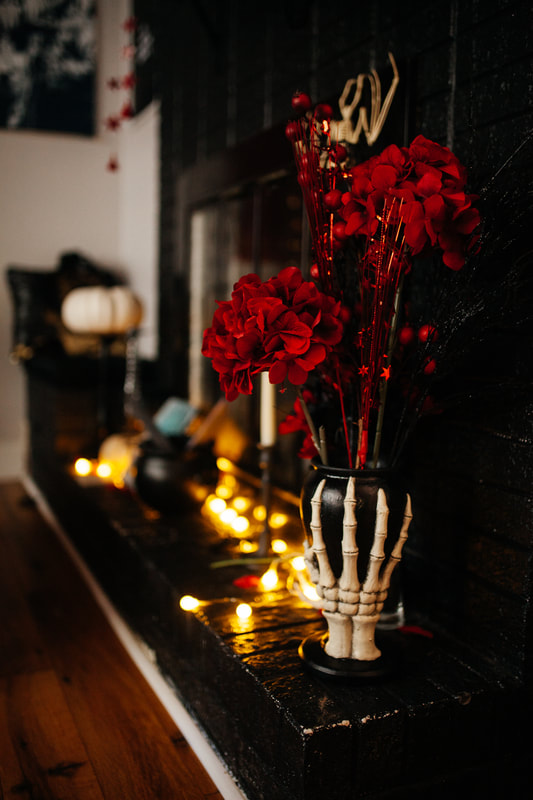
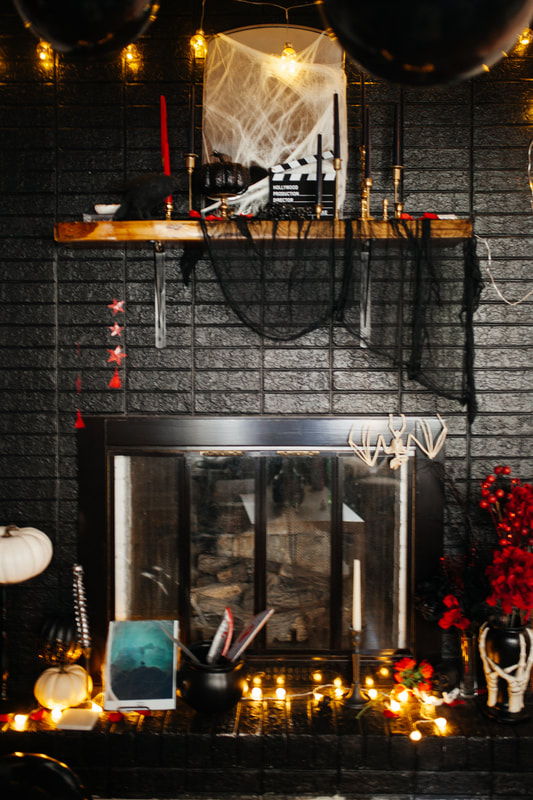
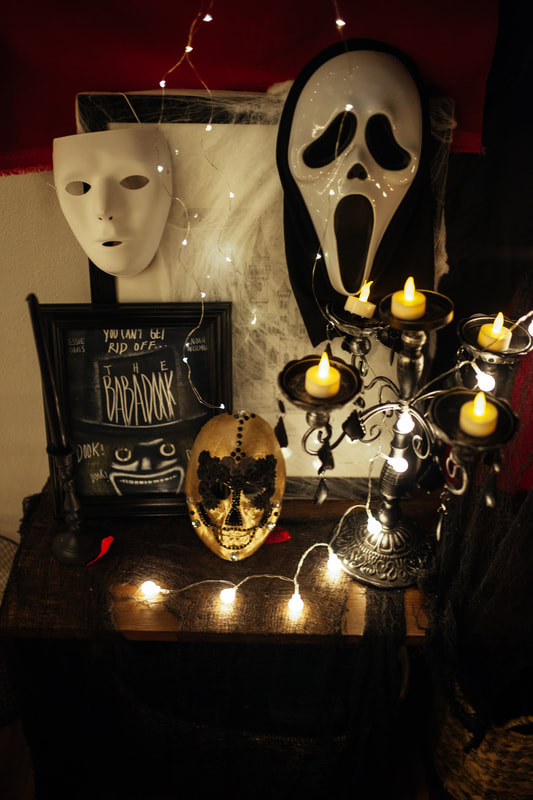
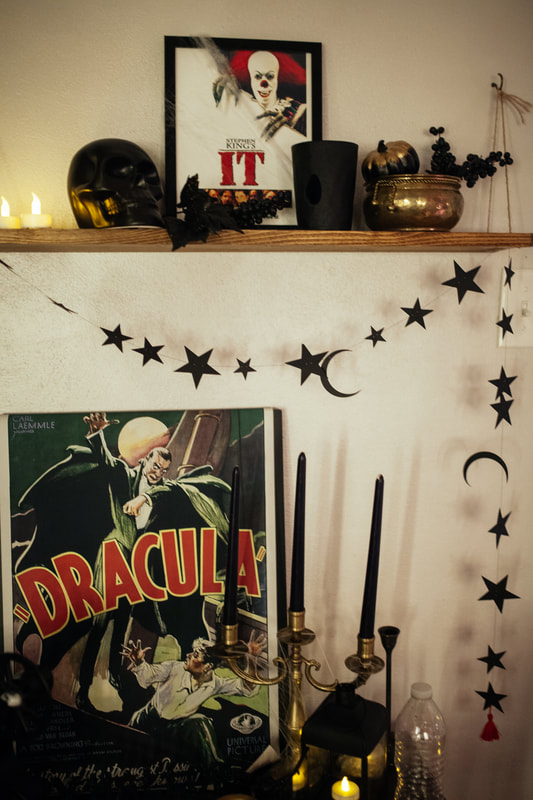
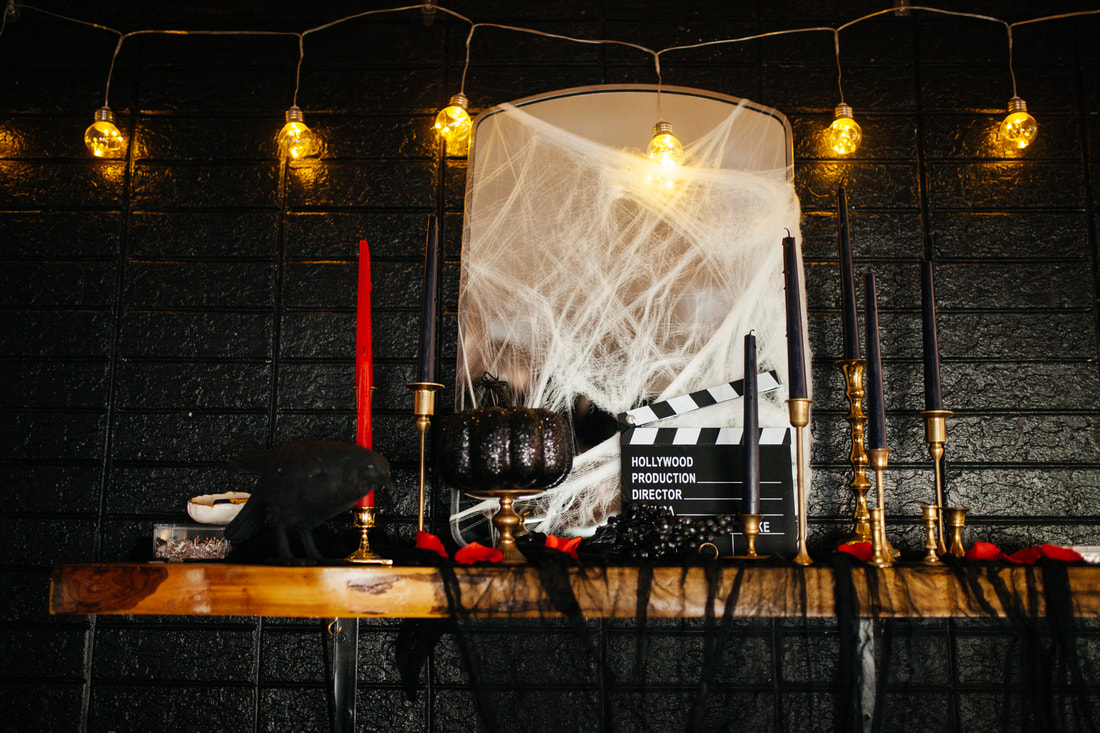 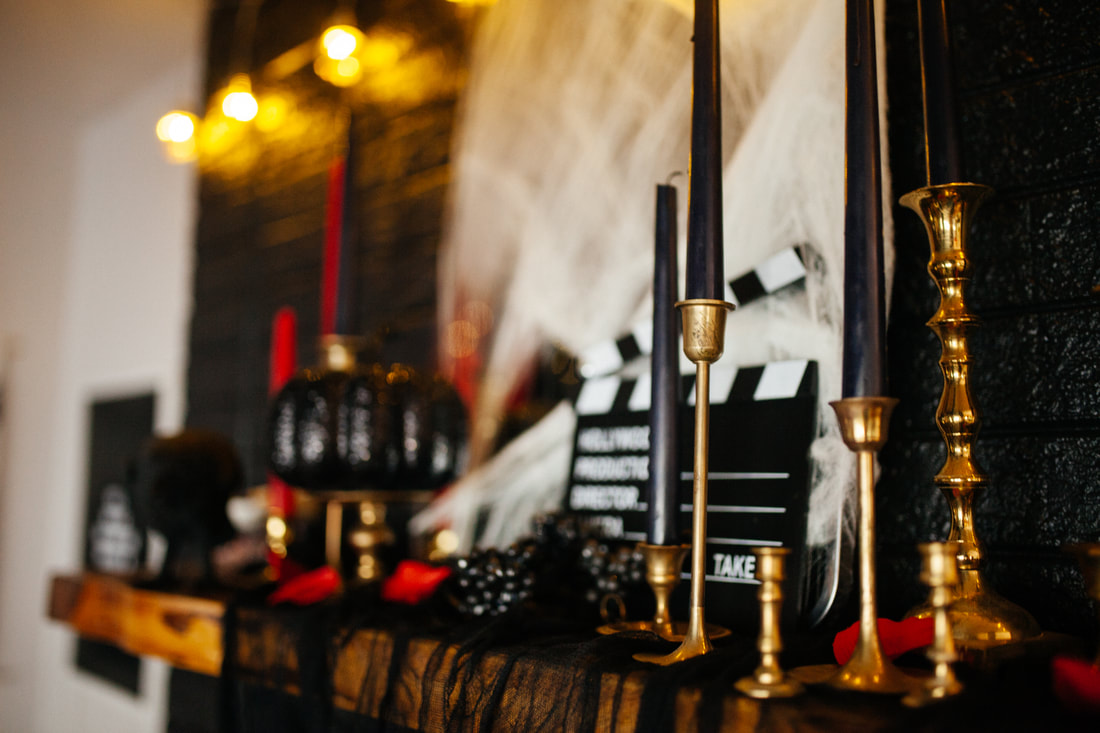 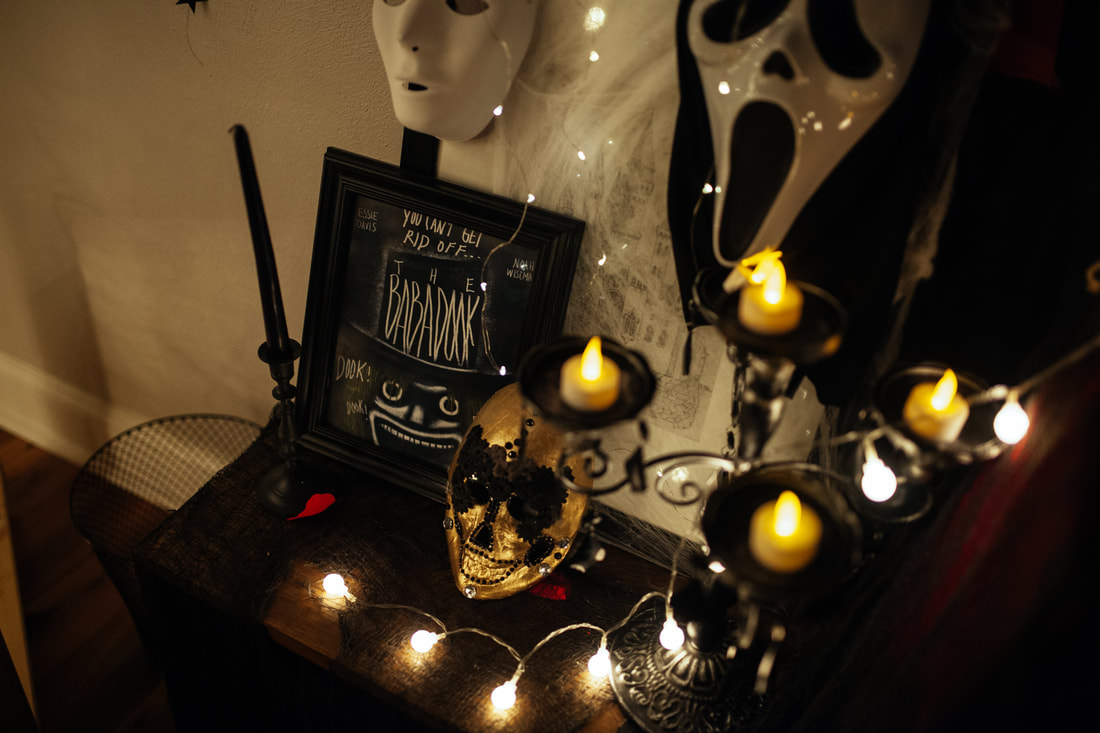 Classic horror movie paraphernalia was placed throughout the house and I found these 8x10 movie posters on ebay for super cheap (most were only .99!) and I just put them in frames I already had laying around. 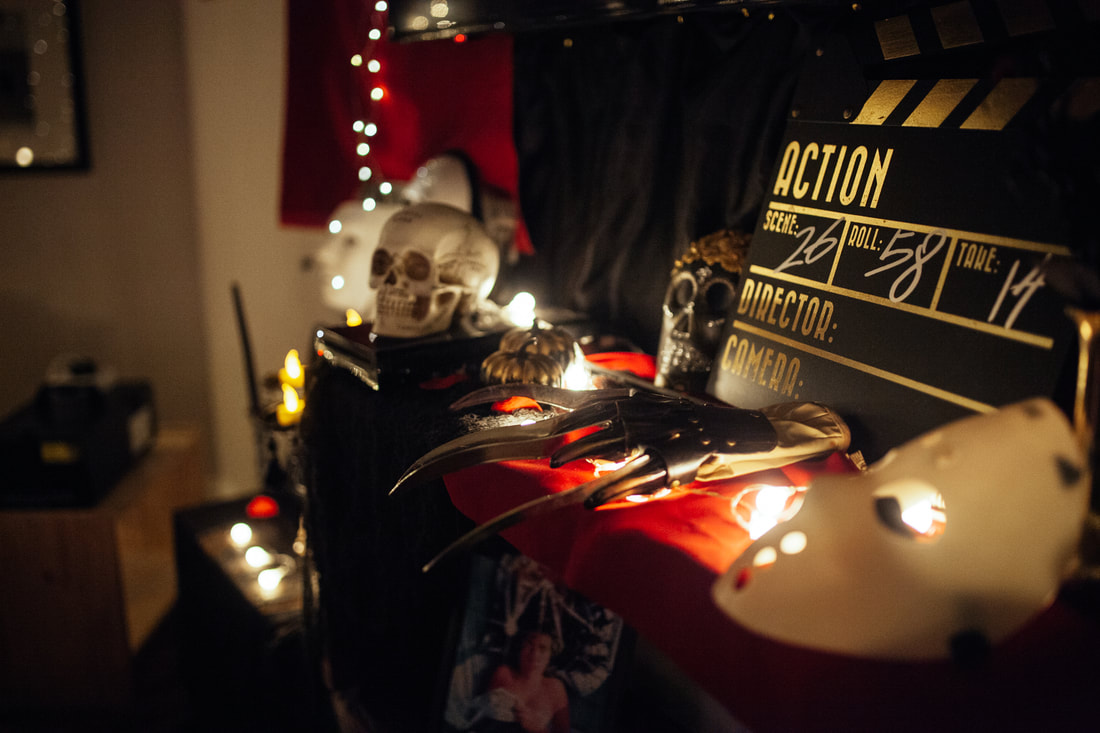
 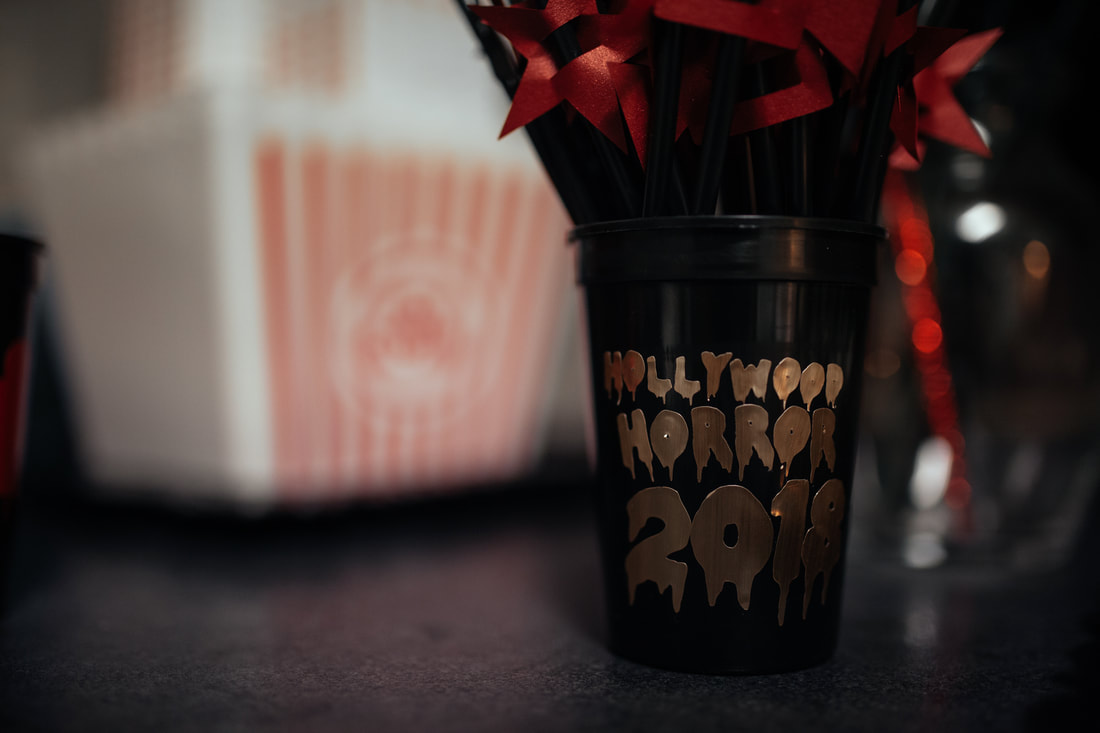 Everybody got a cup to take home to commemorate the night. I made these with my silhouette cameo and metallic vinyl.
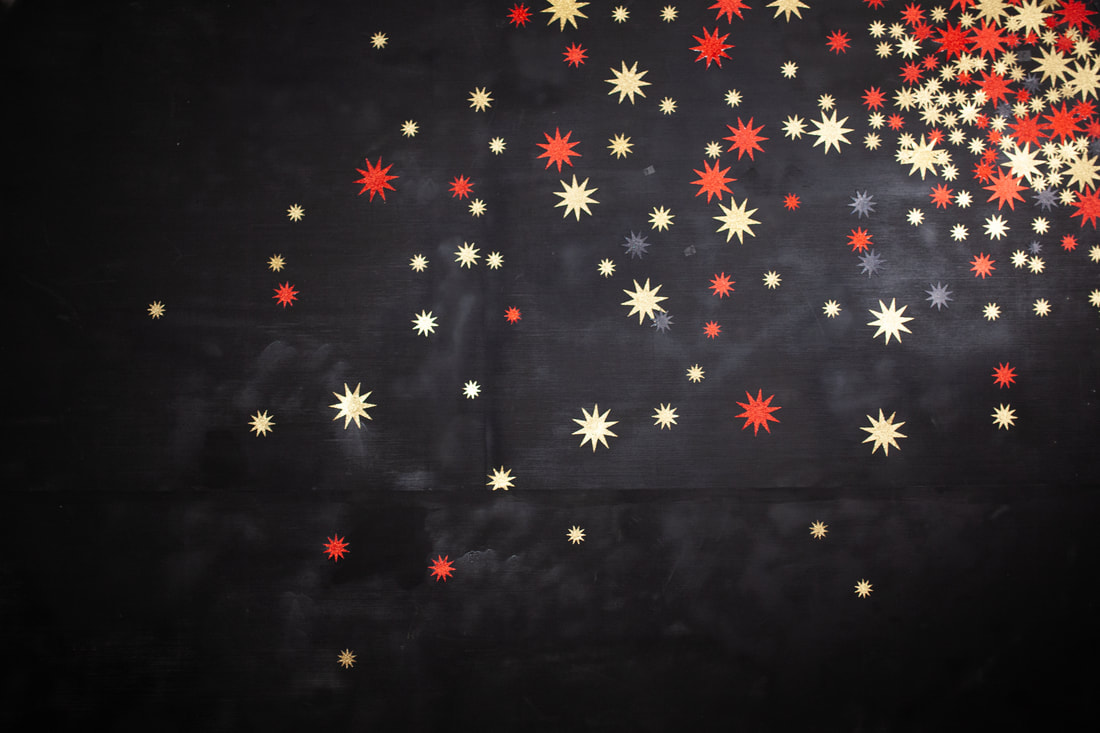
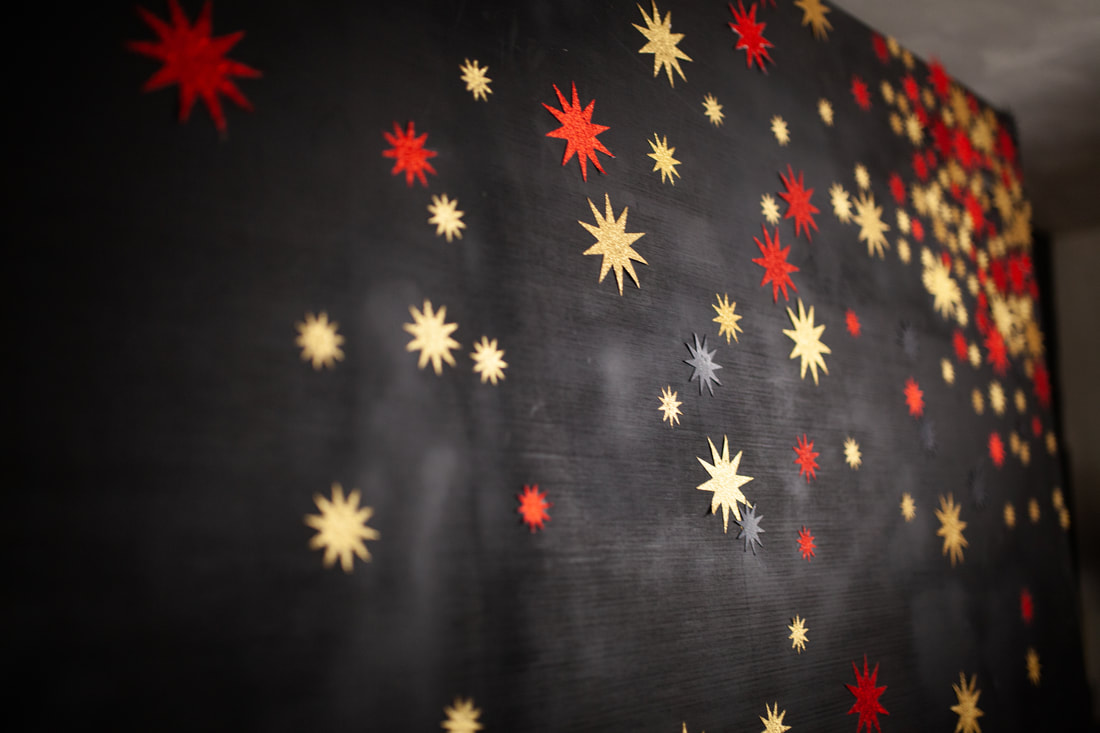
The crowning achievement of the night, yall: the selfie backdrop. I bought two 4x8 piece of plywood, painted them black, and Nathan built a frame to secure them so that they would stand up without getting warped. I bought a ton of red and gold glitter paper (from Joann when they are on super sale, of course), and used my Silhouette Cameo to cut out various sizes. I then glued all of these to the wood and voila! Such an easy project for a dramatic effect. This was hands down my favorite project.
3 Comments
1/7/2019 12:44:20 am
You have achieved the design that you like to put in your house. It was spooky, classy, and well-designed house with a halloween theme! Well, I know that you are really good when it comes to designing your house so why I should be surprised with that? By the way, I am hoping that you can also teach me on how to design my house this way once halloween season is approaching! I am thinking of hosting a halloween party this year, and I will invite my neighbors and my friends. Huge thanks in advance!
ISO 11611
2/2/2020 10:05:23 pm
There is a need for the clothing to have a minimal flaming Leave a Reply. |
FWYWelcome to the ForeverWhitneyYoung Blog. Read on for recent projects and other fun stuff. Archives
November 2019
Categories
All
|
 RSS Feed
