|
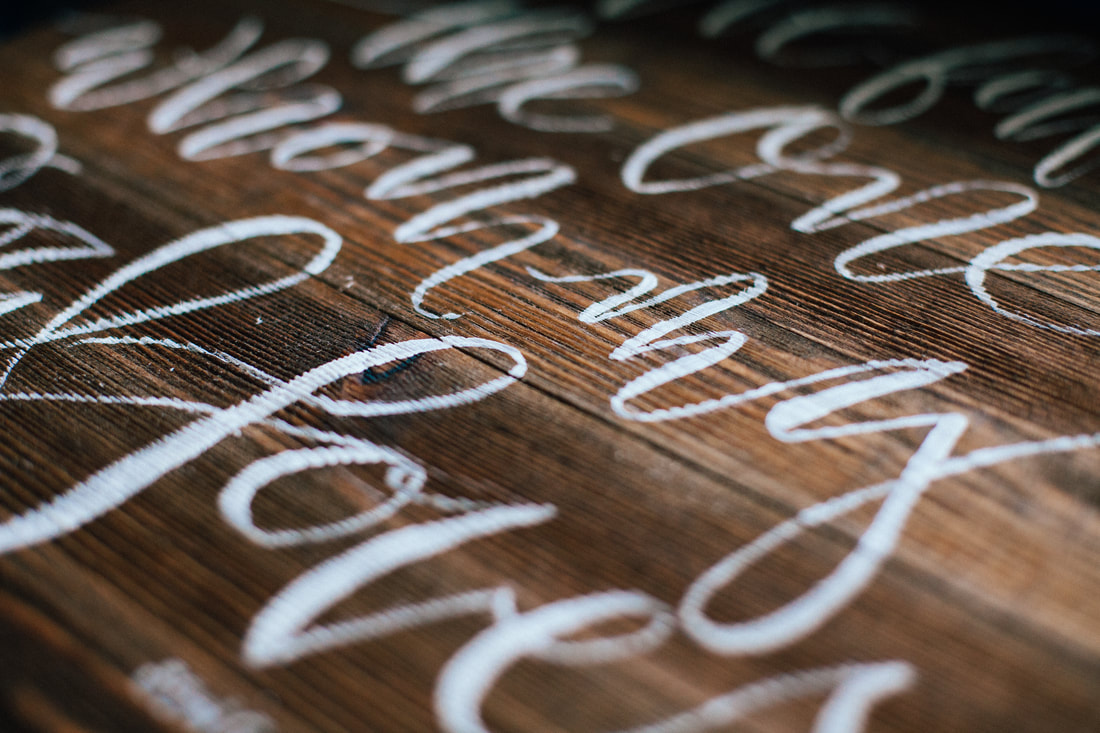
Guys I am living for the textures in this sign I painted recently! I'll be honest, when my friend first brought me the unpainted sign and asked me to customize it, I was pretty nervous about how I was going to get anything resembling a straight line with all these notches and grooves. There was a definite learning curve but the texture made for a really cool, nostalgic look that I ended up loving..The process is much like my other projects, starting with a sketch and ending with some pretty words. I started with the raw wooden sign, stained it a natural,dark color, sketched it all out in pencil 1200 times because I'm not good at proportions and then painted the letters with acrylic white paint. Take a peek at the end product below!
1 Comment
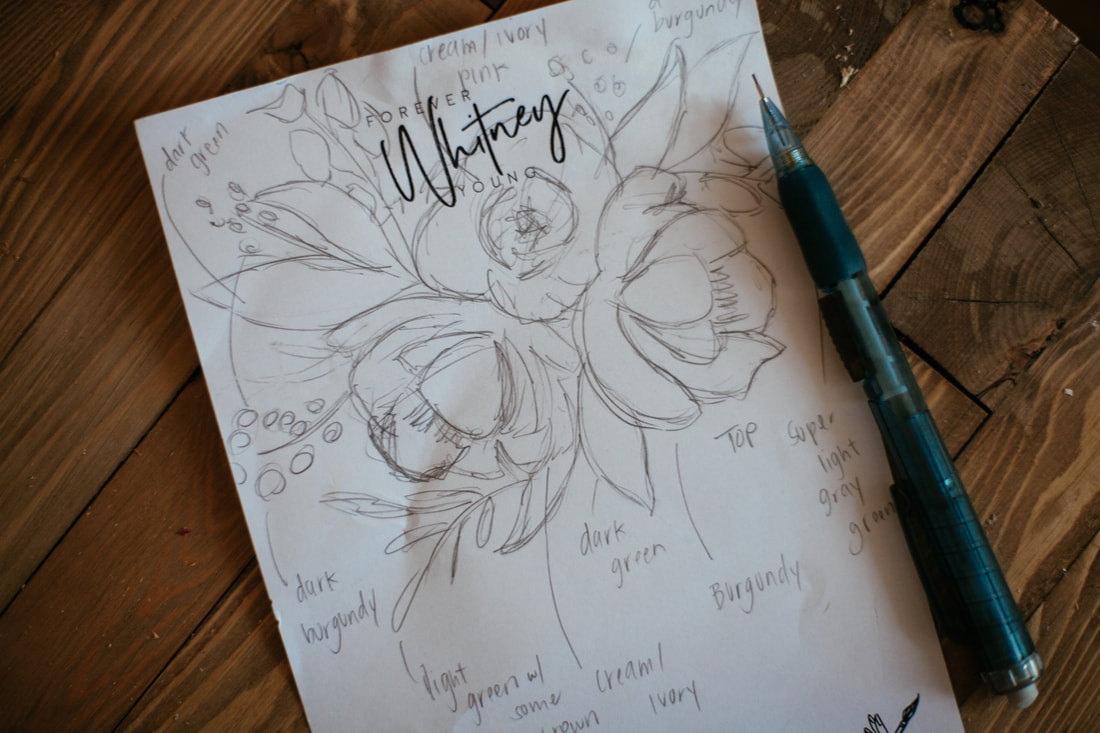
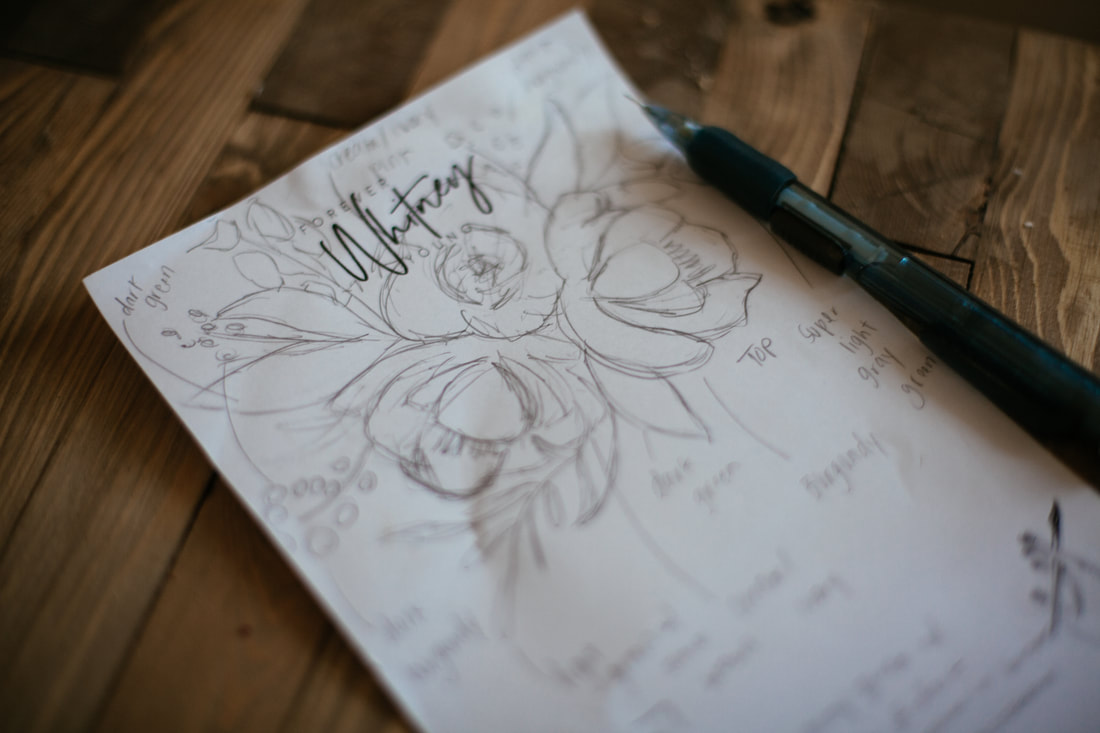
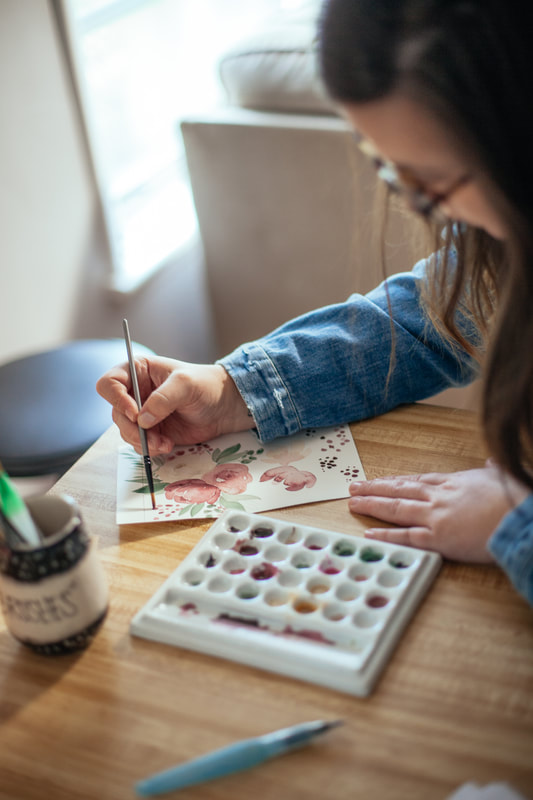
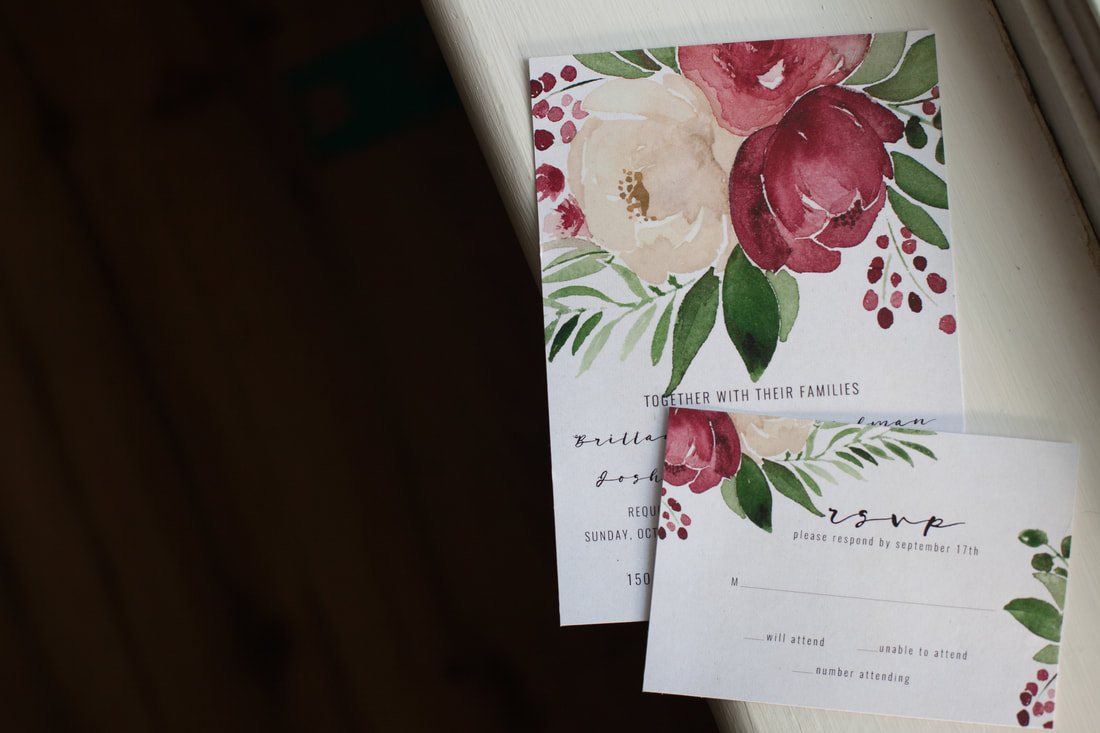
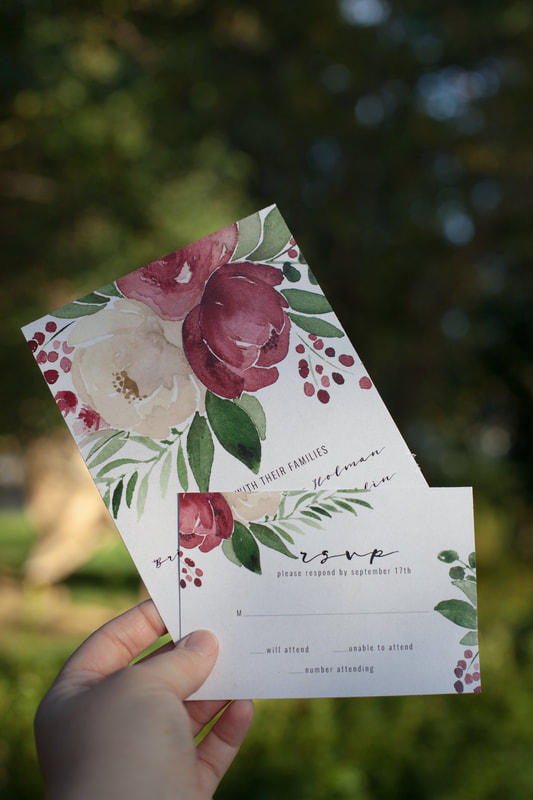
Guys. I love love. It's the best thing around, really. So when people ask me to help with their weddings, I jump at the opportunity to be involved in any way I can. Enter two of my newest and sweetest friends, Brittany and Josh. They are having a small wedding in the mountains in a couple weeks and they asked me to design and paint their wedding invitations. Brittany gave me complete creative control (my favorite!) with the only specification being that she wanted watercolor flowers (more of my favorite!). I got a burst of inspiration one day during my lunch break and had to sketch it out really quick before it disappeared. Check out the photos below for the rest of my (slightly scattered) creative process. After I got home from work with sketch in hand, it was time to start painting. For this project I used both Qor and Winsor Newton professional watercolors mixed and remixed and mixed again to get the perfect cranberry, ivory, and green colors to fit Brittany and Josh's theme. (photo taken by my sweet husband, Nathan Young) I'm generally terrible at taking process photos so I do not have a photo for this part but after the painting is perfect and has had time to dry, I scan it in (my Epson V600 scanner picks up watercolor textures SO well, highly recommend), bring it into Photoshop and take out the background, then bring that graphic into Illustrator for the design work. Then I take it to a local print shop and get some test prints to make sure everything turns out like its supposed to. Once Brittany and Josh got the test prints and we were sure there were no changes that needed to be made, I gave them a flash drive with their print ready files and sent them on their way!
NOTE: For custom designs, I handle the drawing, painting, and digital design. I do not offer the printing myself. I will, however, help you in this process by offering suggestions on my favorite places to print, paper preferences, cutting options, and providing you with completely print ready files. If you are interested in ForeverWhitneyYoung designing one of a kind invitations for your next event, click the link below to head on over to the contact page. Let's make something together! |
FWYWelcome to the ForeverWhitneyYoung Blog. Read on for recent projects and other fun stuff. Archives
November 2019
Categories
All
|

 RSS Feed
